Aloha Bloggerinos,
With winter well and truly here (as I type, my windows are about to be blown in by gale force winds and also, veering of course a bit here, my 60 something year old neighbours are having some shockingly loud 'couple time' if you get my jist- erlack), I felt it time to crack open the craft box and get busy.
As previously mentioned, I am currently rich in time but poor in mula, so this Christmas is going to be inspired by vintage, handmade and upcycling- very fashionable dontchya know? I've set myself the challenge of using up all the copious supplies I have and will not, not, NOT go to HobbyCraft under any circumstances!!
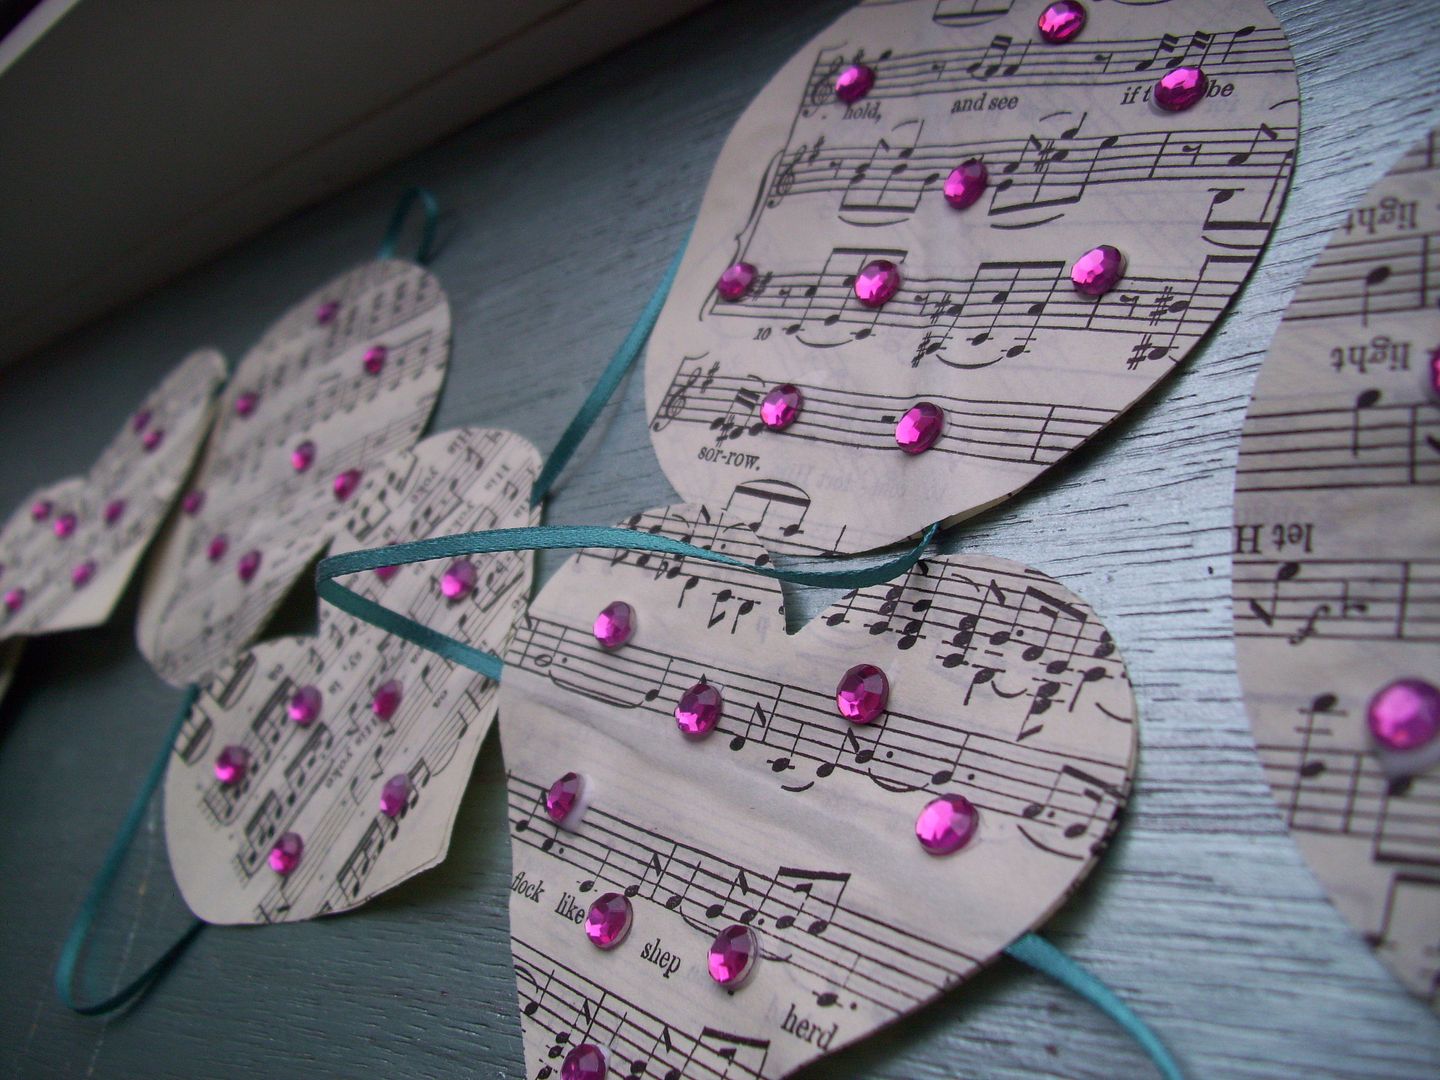
So, one of the first things I have made was inspired by my Ideal Homes (I think) Christmas magazine which Matt bought me at an M6 service station, I do love that man. Basically, it's a paper garland that you can adapt to however you like and hang pretty much anywhere- versatile oui??
I would described the skill level of this project as- superduper basic. A monkey could do it I would think.
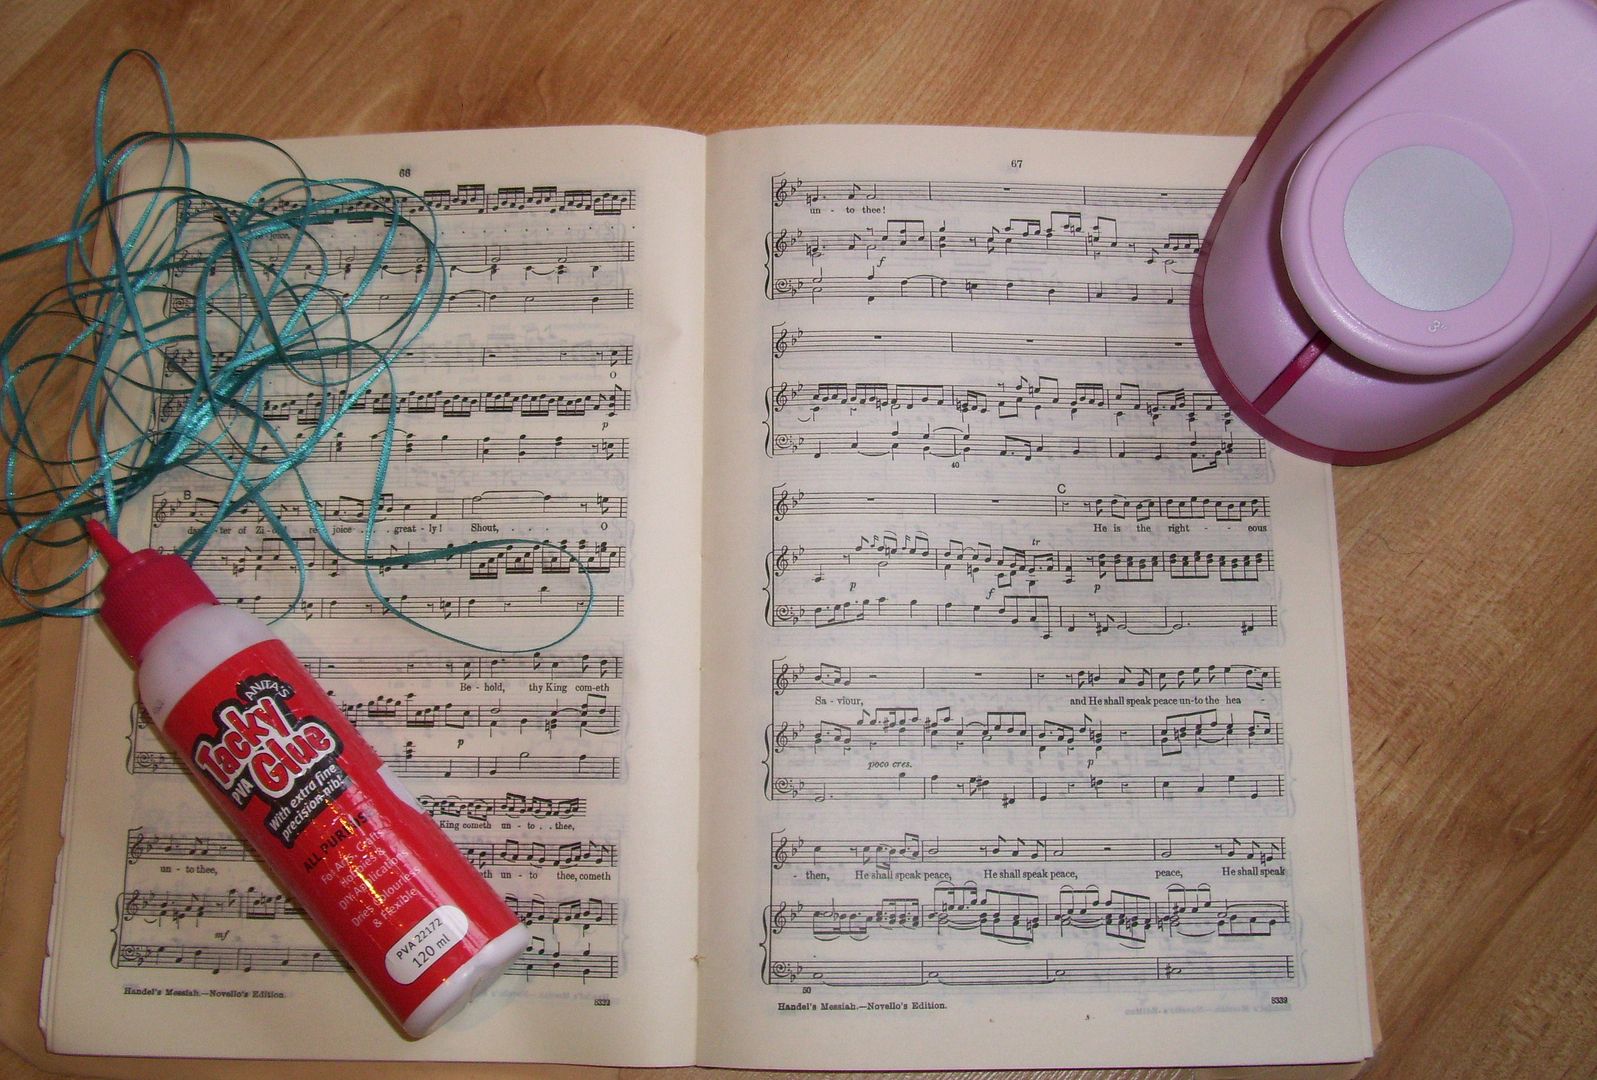
What you need:
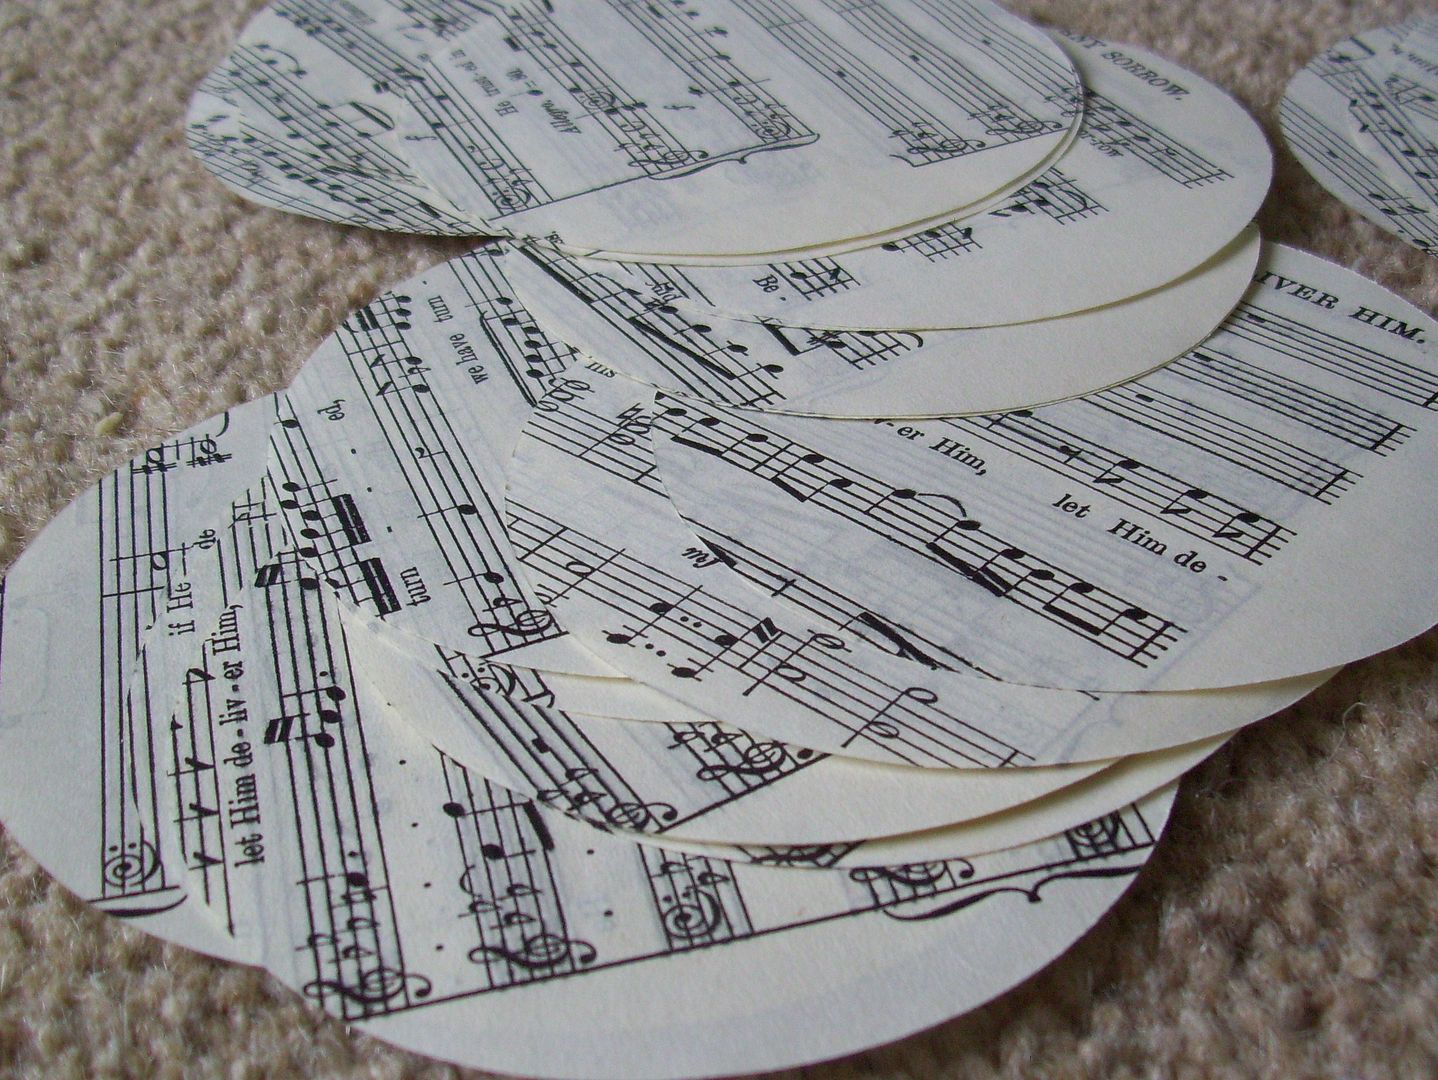
1. Paper. I used paper from a music book jobby that I bought at a charity shop last year (gawd knows why). 2. Scissors/Stamp cutter. I already have a circle and heart cutter from HobbyCraft, but you could just use scissors to cut whatever shape you like. I suggest using a template for accuracy though.
3. Ribbon or string cut to whatever length you want your garland (remember to leave a little bit at each end to loop or hook.
4. Glue. I used kiddy type PVA, just because that's what I found first :)
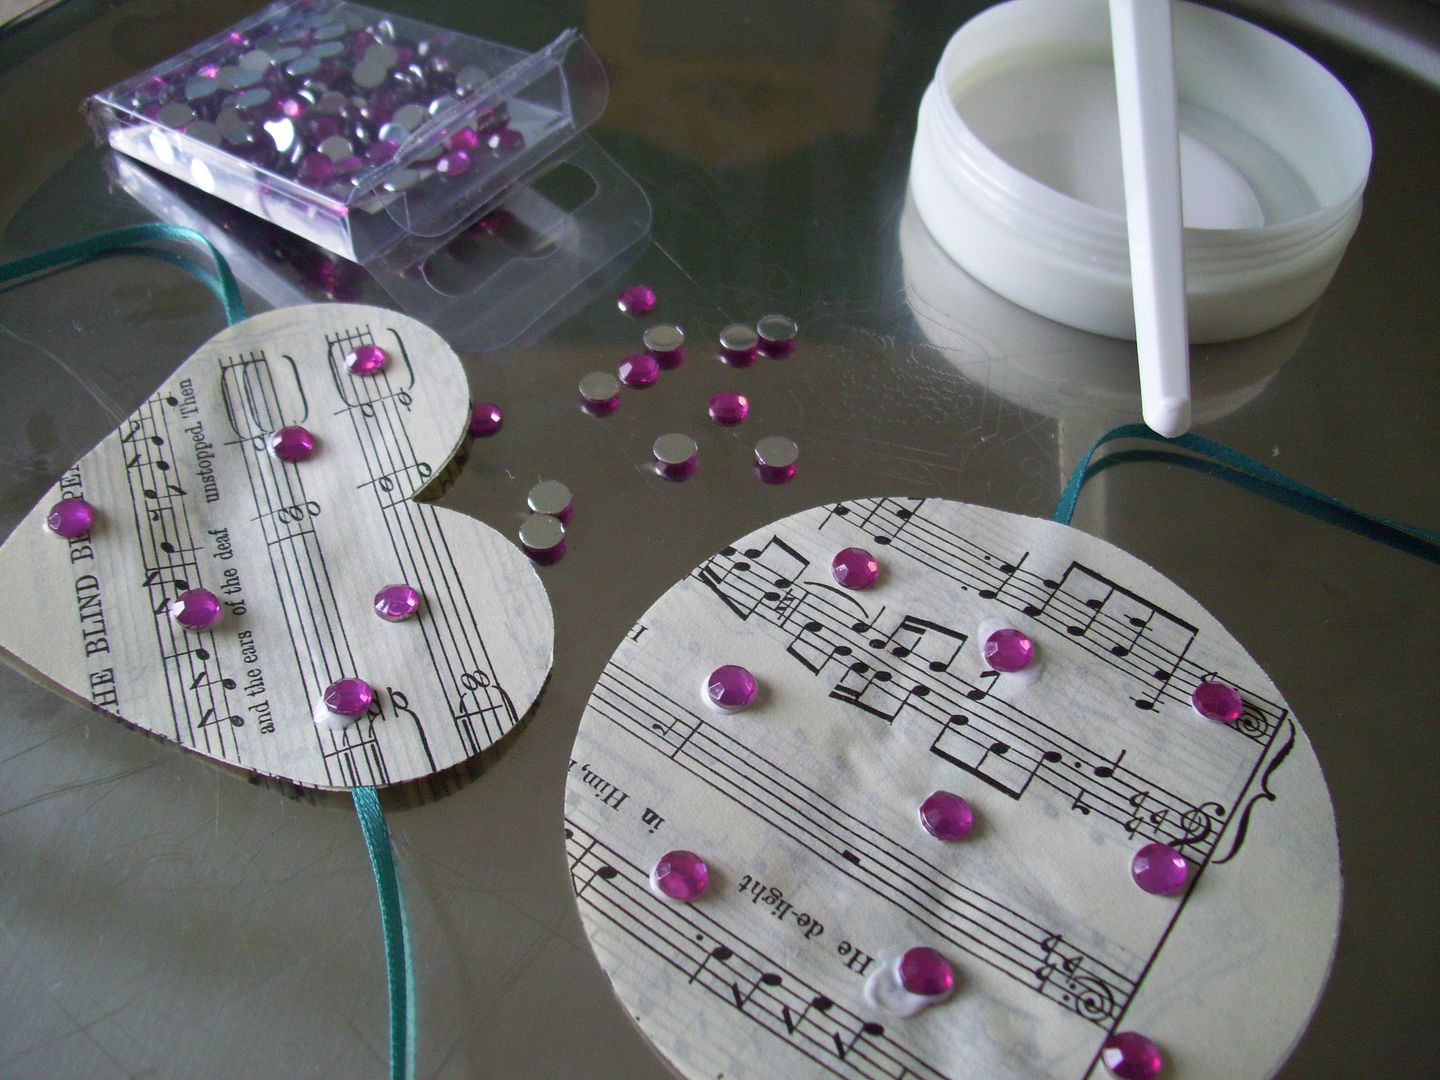
5. Gems/Glitter/Embellishments. This is optional. I used hot pink crystals. Ohh yeeaah.
Cut/stamp out your shapes. I went for circle and then heart alternatively. Next time I'll do just hearts but you live and learn.
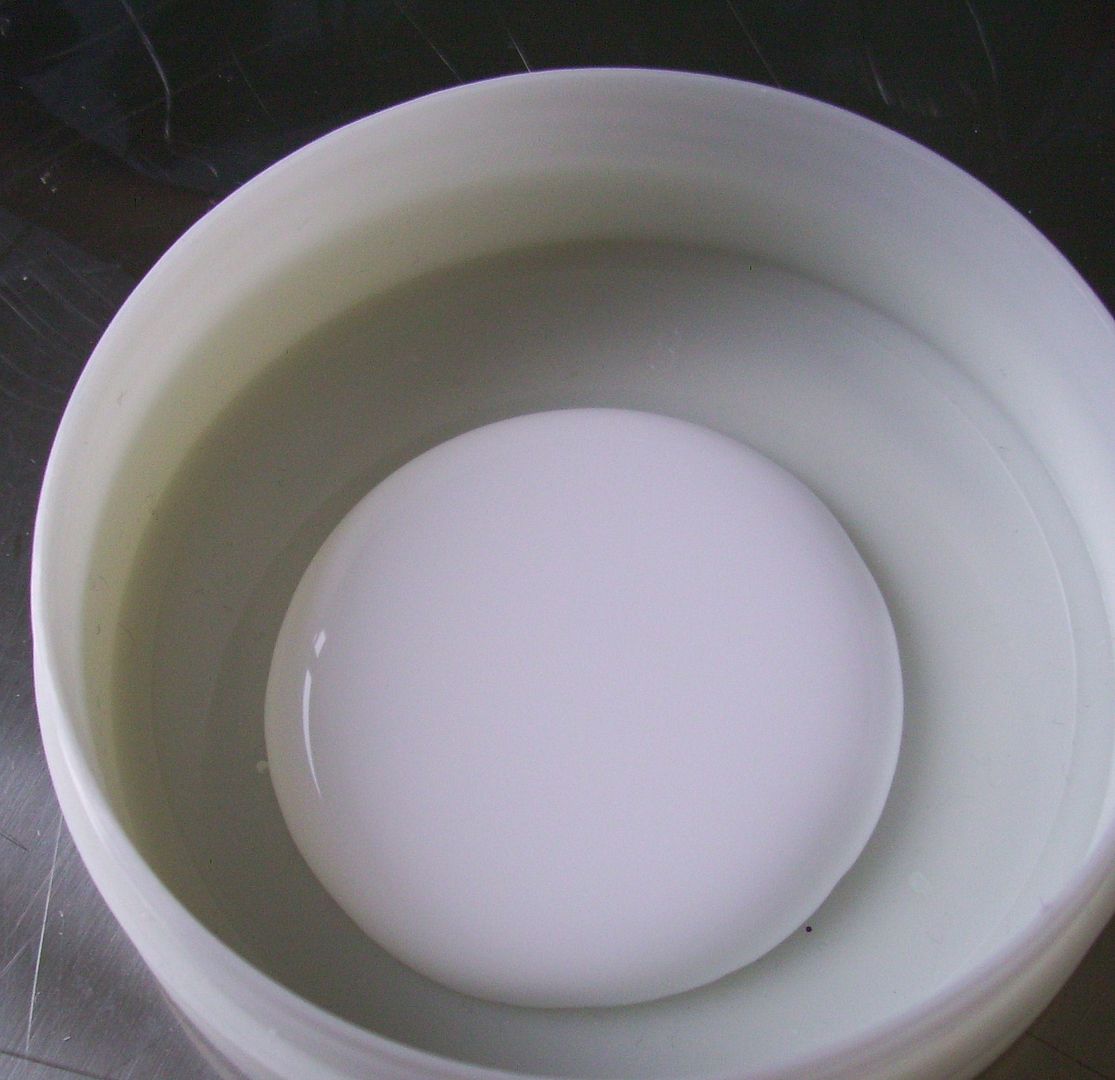
Squeeze out your glue into something. That pot is an old nailvarnish wipe pot. You seeeee crafts and cosmetics go hand in hand. Ho ho.
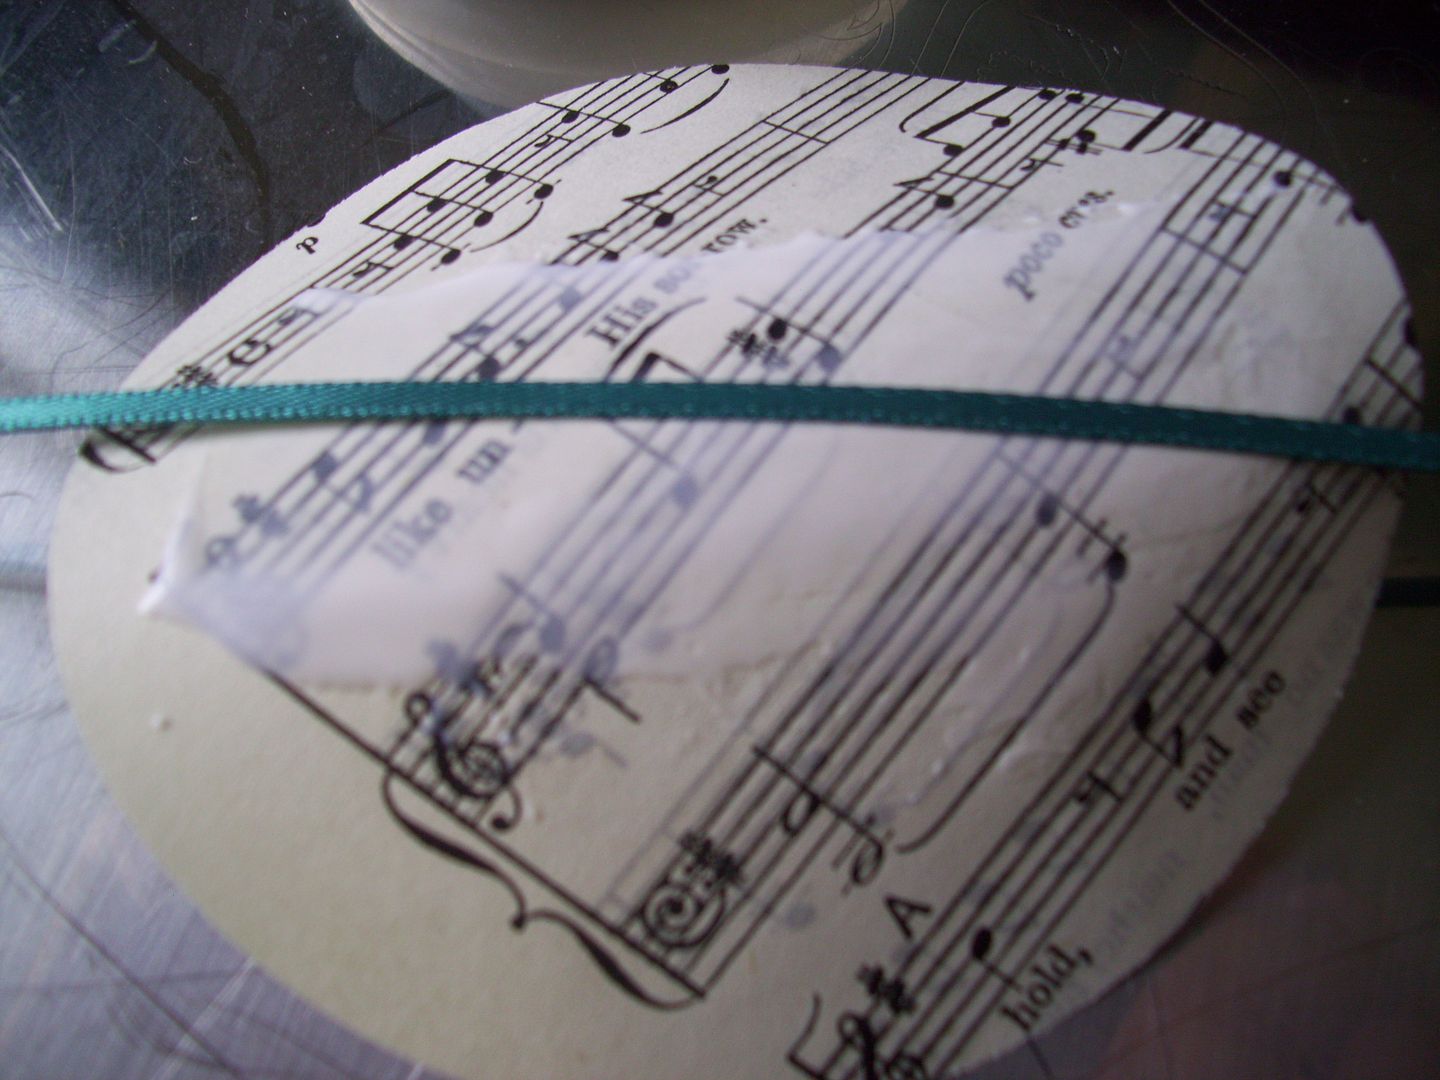
On one side schmear (mm love that word sscchhmmeeaarr) you glue and lay the ribbon/string on it. Then, take another shape of the exact same size and lay it on top, to make a ribbon/strong sandwich if you will.
To add a bit of festive sparkle, embellish however you fancy. I stuck on little gems. I used the end of a plastic fork to splot the glue on so that I could make a small gem sized blob and prevent a glue related nightmare!
Leave to dry and voila, a very unique garland that you can hang from the tree, mantelpiece, banister or wherever you fancy. You could also adapt this for other occasions- pink hearts on red ribbon for Valentines, orange pumpkin shapes on green ribbon for Halloween etc. I may even make some for the nursery in girly shapes and colours of boyish ones. It's a nice easy project that you need very little for. Super.
If you would like to buy a kit for £3.50 (inc P&P anywhere) pop your paypal email in the comment box and I will send it out to you. Kit will include 32 hearts or circles or a mixtures (please specify) which is enough for 16 shapes on the garland, 100 crystals in clear (which is enough for 6-7 on each shape) and 125cm of fairy pink wrapping ribbon (you know like the type you can curl). All you'd need to sort out yourself is your glue, and voila- Your Own Chic Garland Project Kit :)
If you would like to buy a kit for £3.50 (inc P&P anywhere) pop your paypal email in the comment box and I will send it out to you. Kit will include 32 hearts or circles or a mixtures (please specify) which is enough for 16 shapes on the garland, 100 crystals in clear (which is enough for 6-7 on each shape) and 125cm of fairy pink wrapping ribbon (you know like the type you can curl). All you'd need to sort out yourself is your glue, and voila- Your Own Chic Garland Project Kit :)
What do you think? Is this something you might try?
Toodlepip!
xx


