Aloha Bloggerinos,
With Christmas around the corner (46 festive nights away to be precise), Santa (aka, me) is busy busy in his workshop, crafting all sorts of lovely gifts.
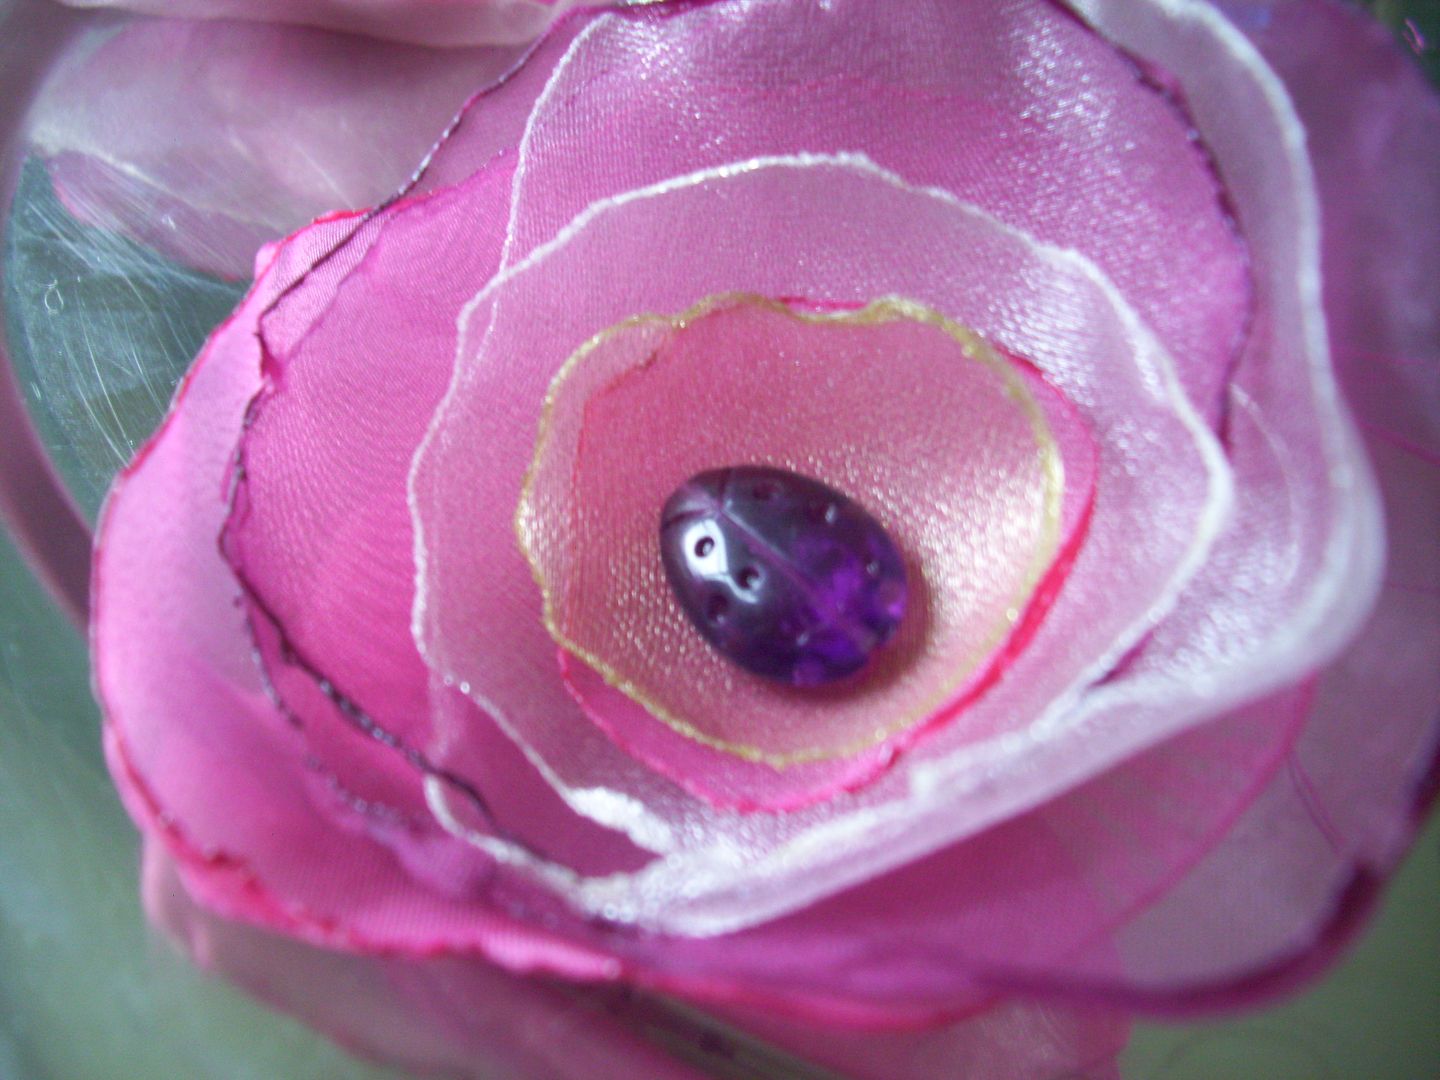
These corsages are so easy to make and require very basic sewing skills.
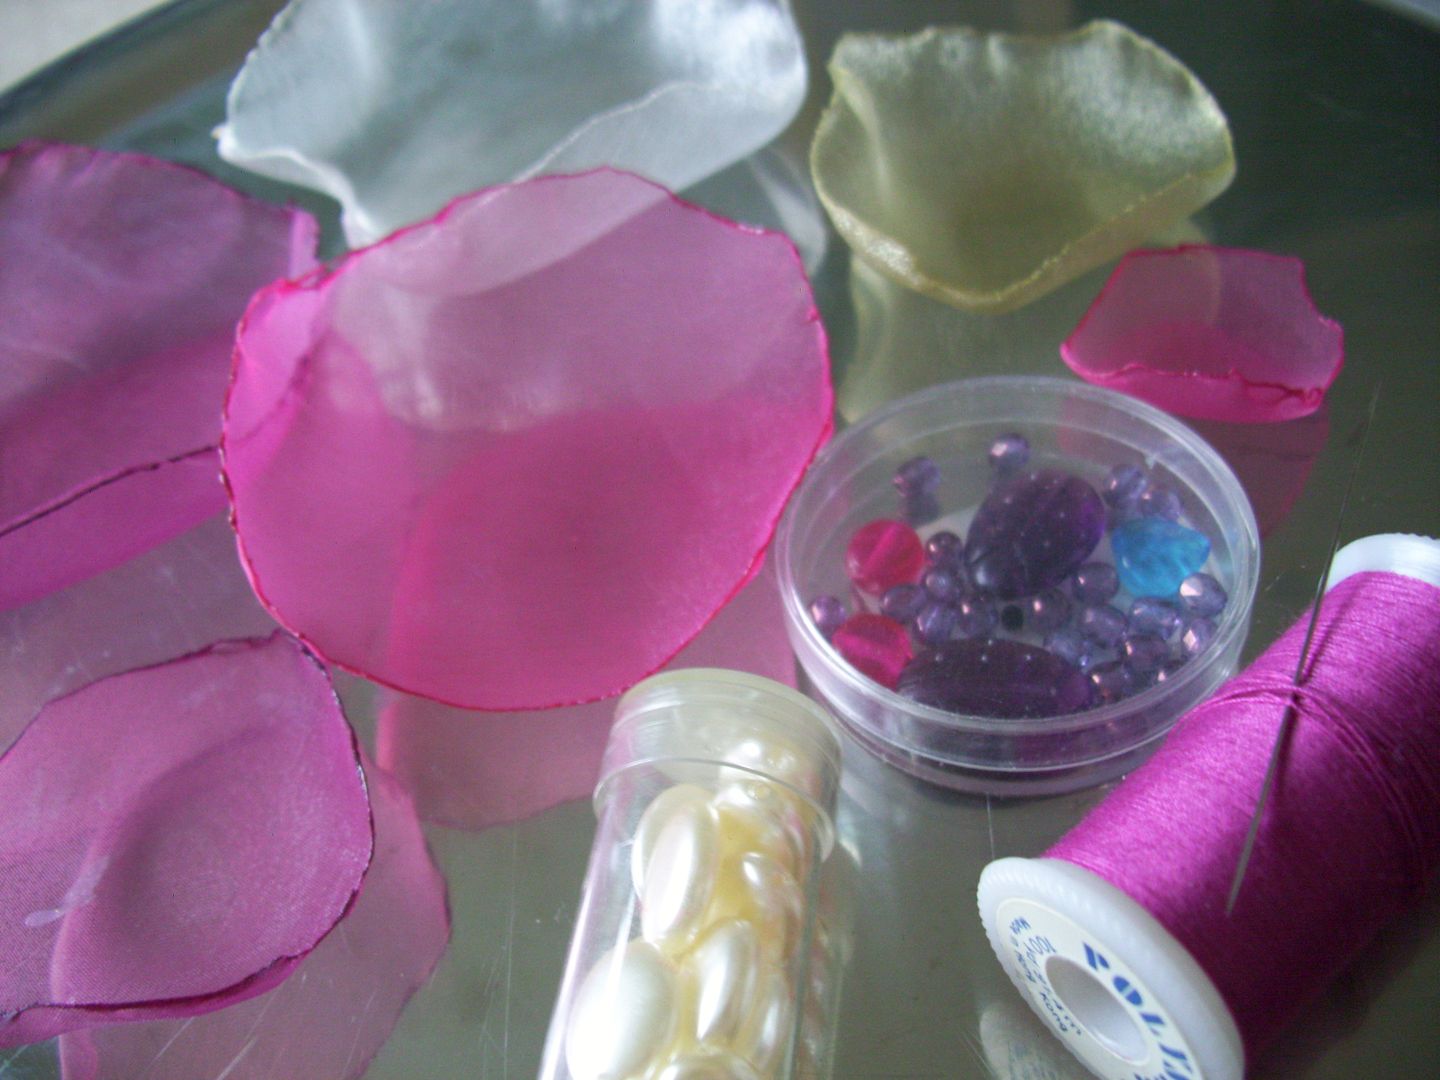
What you will need:
1. A few different colours of synthetic material. It HAS to be synthetic to make the edges curl, more on this later. I picked my sheer organza type fabric up from a place called Abakhans in Liverpool. If you live in scouseland, I strongly suggest you check this place out. It's an Aladdin's cave of bargainous craft stuff, everything you can imagine :)
2. A candle and matches/lighter.
3. Scissors.
4. Needle and thread.
5. Safety pin or brooch back. (I used a safety pin as I had these to hand).
6. Embellishments. I used assorted glass beads and a few flat faux pearls. You could use buttons, sequins, beads, stick on gems or anything jazzy that you can get your hands on. Don't go crazy spending money if you can't, this is the perfect opportunity to use the bits of that broken necklace or old buttons.
How to make your corsage:
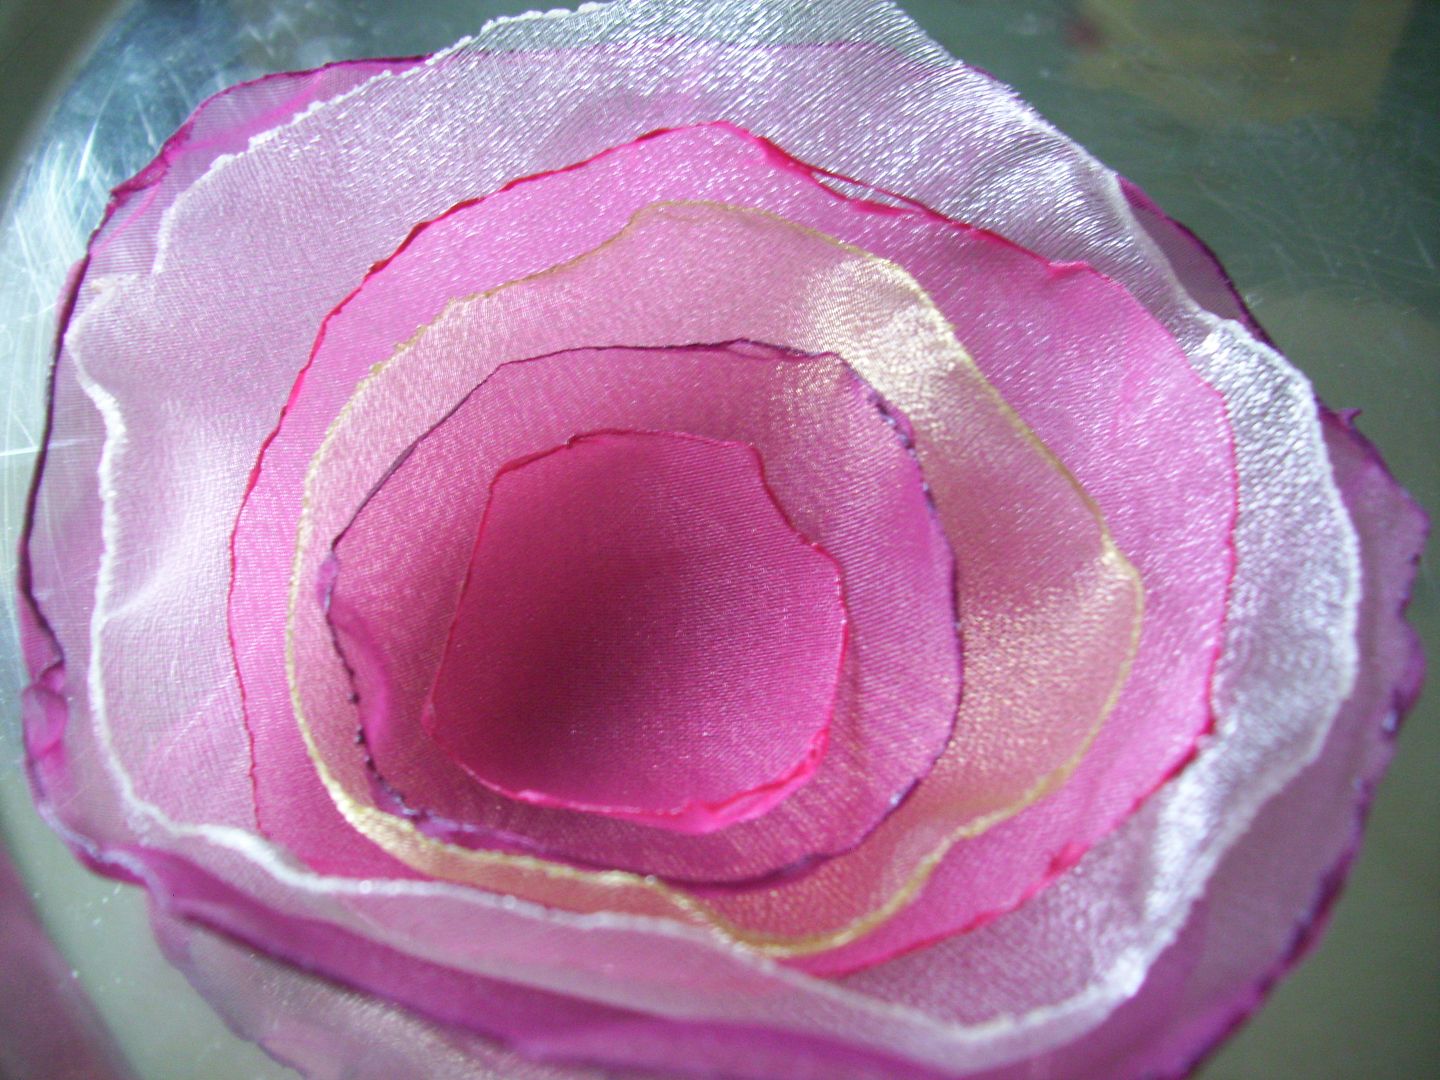
1. Cut out varying sizes of circles from your materials. The more circles you use, the fuller your brooch will look. I usually go for about five circles, but it is entirely up to you. Cut the circles by eye, you're going to be curling the edges so no need for total accuracy here.
2. Melt the edges of your circles over a lit candle. This is quite easy but its best to have a couple of trials first. You want to just run the fabric through the flame to create a curled edge and enhance the petal-like effect.
3. Stack the petals on top of each other in size order until it looks how you want it. It should now look corsagey.
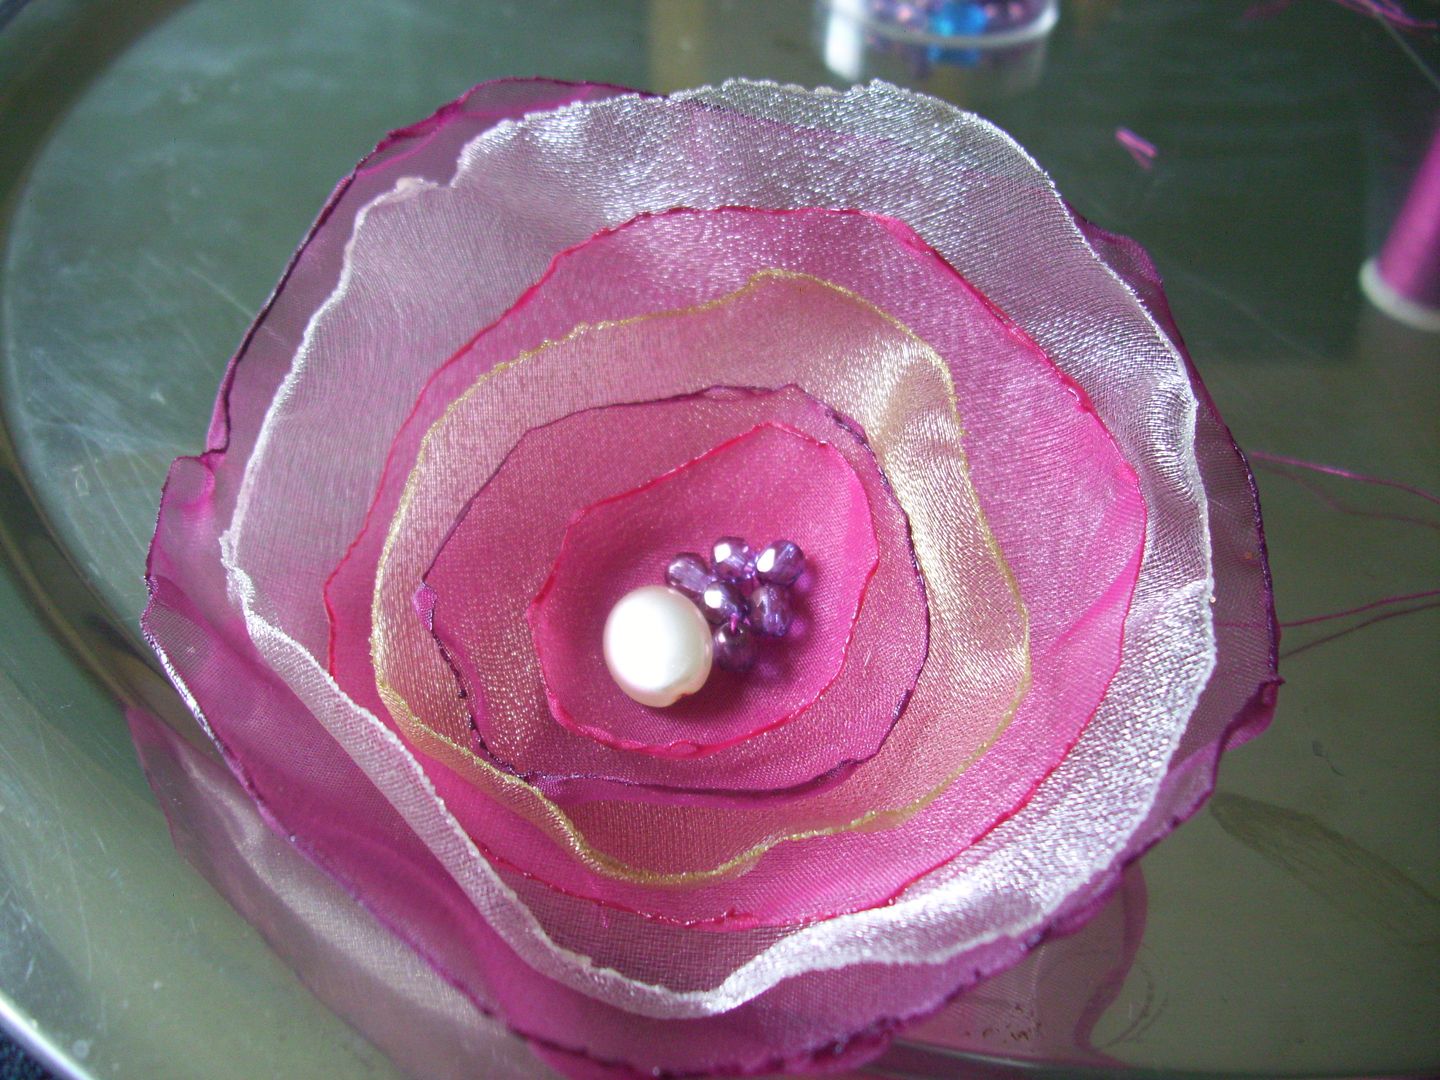
4. Using your needle and thread, pop a few stitches through the centre of the corsage to tie all the petals together.
5. Sew/glue on your chosen embellishments.
6. Sew/glue on your safety pin.
This project is great as it's so versatile and can be kept basic for beginners or jushed up a bit for a more advanced crafter. You can go to town with embellishments, colours, layers and textures. Why not incorporate bows or feathers?
These will now be carefully wrapped, sent to Father Christmas and dropped down my Aunties chimneys. Lovely.
Is this something you have, or might in the future try? If you have any questions, do let me know :)
Toodlepip!
xx


